Here's how I did it...
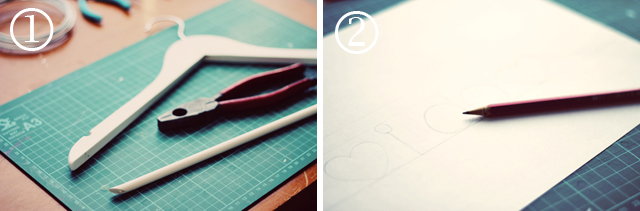
2. Measure the length you'll need and draw out a template of what you want it to say. I chose "i do" with some little hearts. But you can choose anything you want (make sure it will fit in the space though).

3. Practise any tricky bits with a scrap piece of wire first. I discovered this after ruining my first attempt! If you have two shapes that are the same (ie. the two hearts), measure and mark the wire so they end up roughly the same size.
4. When you feel confident, start bending and shaping your wire using your template for guidance. Allow extra wire at each end. I used my hands for bending and a pair of pliers to make sharp bends and crimp bits together. Try uing something solid to wrap the wire around helps to create the circular shapes.

6. Glue the wire into place and allow to dry.
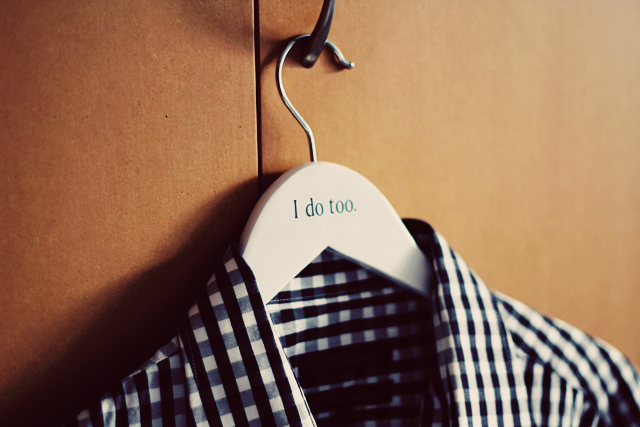
The finished product ...

I also made something a little less girly for Shane using this tutorial.